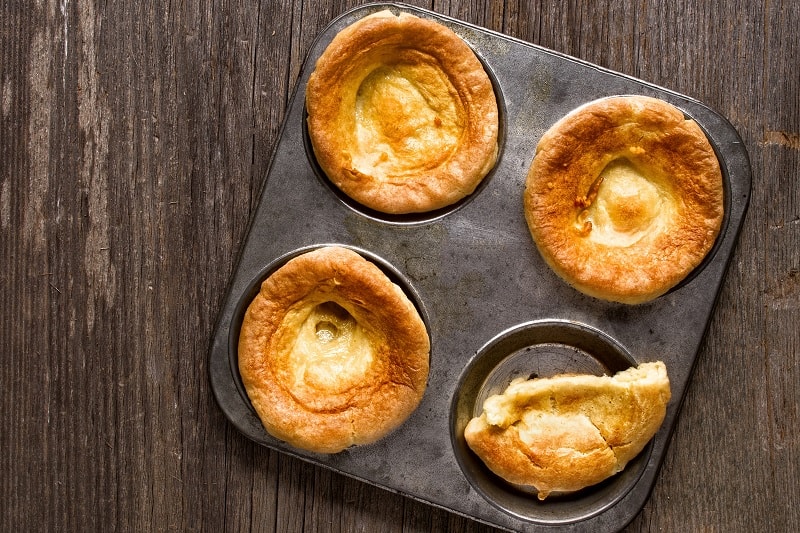
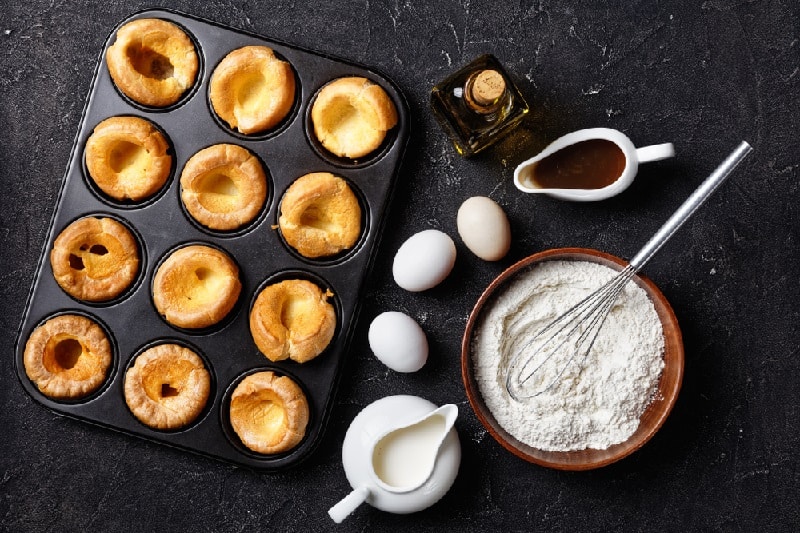
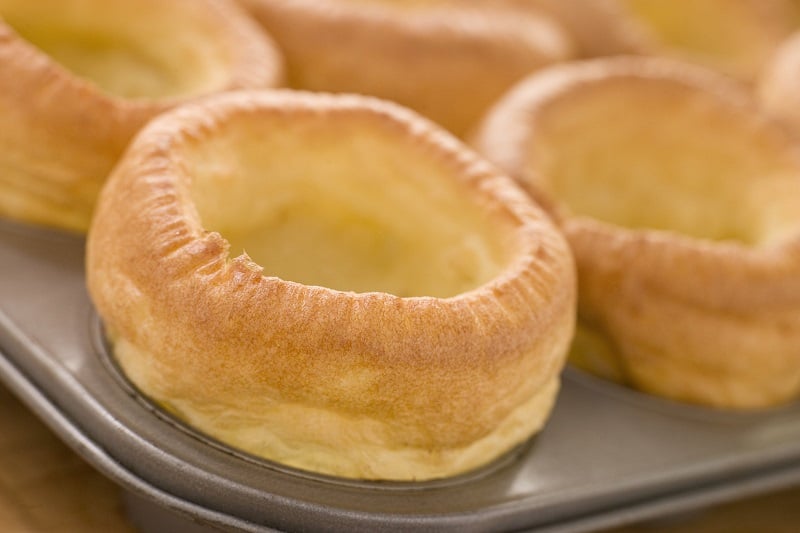
Yorkshire puddings are a very British staple for the traditional Sunday dinner or roast, smaller in modern times than their older versions.
Originally, the Sunday dinner addition was much larger and served as a starter (or first course) instead of as part of the main meal. They were also eaten in both sweet and savoury dishes.
These days, however, Yorkshire puddings are less of a main meal or dessert, and more of an accompaniment to a main meal.
You can also buy them in many forms: ready-made, ready-mixed, sachet mixes, and more.
But how do you stop Yorkshire puddings from sticking when you’re cooking them in the oven?
There are a number of reasons why your Yorkshire puddings might stick when you cook them. In turn, there are a number of different approaches you can try to prevent them sticking.
Let’s start with the basics and work our way up from there…
1. Wipe Your Yorkshire Pudding Tin/Pan Clean Instead of Washing It
One of the main culprits is the pan you’re using. Tradition dictates that you do not wash your Yorkshire pudding tin or pan in the same way that you’d wash the rest of the dishes (soaking them in water, and scrubbing them with washing up liquid and a sponge or cloth).
Instead, you should wait for the pan to cool down and then simply wipe it out with a clean piece of kitchen paper or towel.
When you wash, scrub, or soak a Yorkshire pudding tin/pan, you’re essentially removing the coating that helps to make it non-stick.
With time and repeated washing, the sticking will get worse as more of the non-stick coating is essentially scrubbed away, and the sticking will happen to other foods as well as the humble Yorkshire pudding.
It is a good idea to learn how to clean your pots and pans properly, the traditional way. This is said to make them last longer, and prevent problems such as sticking.
As a little bit of trivia for you—you are also not supposed to wash or scrub a wok. Instead, you should wipe it clean in the same way that you are supposed to wipe a Yorkshire pudding tin/pan.
2. Heat the Yorkshire Pudding Pan First
You probably already know that the oil/fat is supposed to be hot before you adding the Yorkshire pudding batter, but some people swear by the approach of heating the pan, then adding the oil/fat, and then heating up the pain WITH the oil/fat in for a few more minutes.
It’s an extra step in the Yorkshire pudding journey, but it could be the thing that stops yours from sticking.
The oil should be very hot—bubbling and smoking/steaming.
Make sure to protect yourself from the hot (and potentially splashing) fat/oil when you remove the pan from the oven and add the batter.
3. Heat the Oil/Fat First
If you didn’t already know, you will have an easier time of things if you add your Yorkshire pudding batter to already-hot oil/fat.
As suggested in the previous point, add your oil/fat to the pan, pop it in the oven for a few minutes, and when it’s nice and hot, add the Yorkshire pudding batter.
You should also ensure that the hot oil/fat covers the sides of the pan as well as the bottom.
Use a brush or similar to distribute the hot oil/fat all over the sides before you add your batter. It’ll stop the puddings from sticking as they rise.

4. Use Lard Instead of Oil
My grandmother swore by using lard instead of oil for her Yorkshire puddings.
It’s an old-fashioned and traditional approach to cooking the puddings, and probably not the healthiest choice, but switching out the oil for lard could make a lot of difference to how well they slide out of the pan when they’re done cooking.
5. Use a Shallower Tin/Pan
If you’re using a deep pan for your Yorkshire puddings, try using a slightly shallower one, and make sure that the bottom and sides are coated in whatever hot oil/fat you have chosen to use.
If you are using a deeper pan, try adding an extra egg. This will help your Yorkshire Puddings to rise, and the movement could help to prevent some of the sticking, especially if the sides of the pan are greased.
6. Use a Silicone Yorkshire Pudding Tin/Pan
Your mind might not immediately spring to silicone when you think of materials for Yorkshire pudding tins, but some people swear by them.
There are pros and cons to using silicone baking trays, the first of which is how flexible they are.
It can be difficult to get them out of the oven, post-oil heating, without them moving around the splashing or spilling hot oil/fat/lard all over the place.
However, silicone Yorkshire pudding trays do make it easy when it comes to getting them out.
You can simply flip the silicone tray over, pop the bottom, and the Yorkshire puddings should come out relatively easy. You will still need to grease the bottom and sides, though.

7. Use a Different Fat/Oil from What the Recipe Says
If you used oil in the Yorkshire pudding, some chefs believe you should use lard or butter in the pan.
When you use the same oil in the pan that you used in the recipe, the two come together and can cause sticking.
When you use a different oil/fat, they don’t come together and can stop the sticking from occurring.
Some people don’t add any sort of oil ingredient to the batter itself. You could try this approach if all else fails and your Yorkshire puddings still stick to the pan as they rise.
In fact, while we’re on the subject, there are some kitchen wizards who would suggest trying a different recipe, or a different ratio of ingredients, if you try all of the tricks to stop your Yorkshire puddings sticking, to no avail.
An extra egg, for example, can help to create deeper, taller Yorkshire puddings.
8. Try Olive Oil in the Tin/Pan
Instead of using cooking oil, butter or lard in the pan when you add the butter, try switching your regular ingredient with olive oil.
This is said to cause the Yorkshire puddings to stick less, especially when it is heated up in the oven beforehand.
You can also use goose fat, although this isn’t to everyone’s taste.

Kim is a writer with more than a decade of experience, and a food enthusiast. When she’s not spending her time writing about her favourite dishes, you can find her in the cake aisle of her local supermarket, or making a mess in the kitchen.


