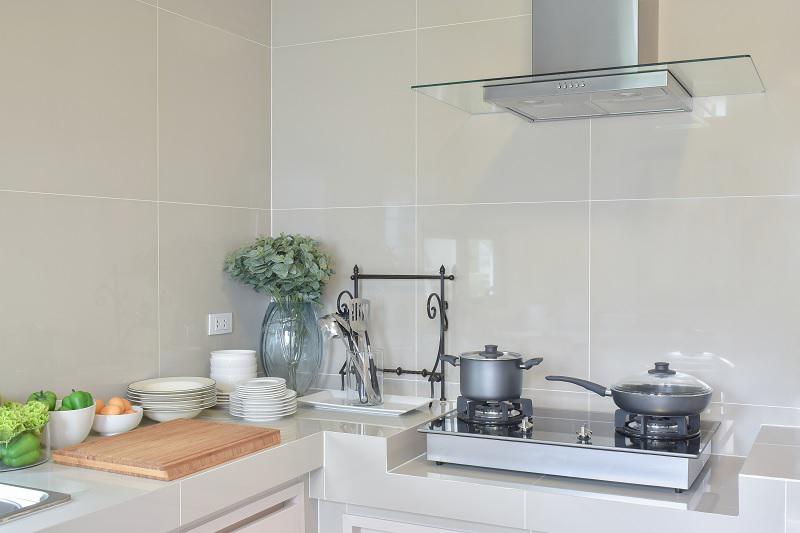
Most modern kitchens, worktop counters and stoves are designed to form a continuous surface. This makes cooking and cleaning much easier and also improves the overall design of a kitchen.
Replacing an old cooker with a new freestanding model may seem straightforward, but what happens if your new cooker is lower than your existing counter tops?
Although most fitted kitchens have a standard height of 900 mm (90 cm), actual installation heights can vary considerably depending on how level the floor is and the material used as floor covering.
Ideally, the top of a stove should be level with the top of the counter, or slightly higher. Not only will your kitchen look better, but it will also avoid heat from the cooktop damaging the adjacent cupboards and counters over time.
Even worse, if your cooker is lower on one side than the other your pans may rattle and spill and the whole appliance may become unstable posing a safety risk.
Fortunately, there are several ways to raise a freestanding cooker to an even height that’s perfect for your kitchen.
Do Freestanding Cookers Have Adjustable Feet?
Before trying any other method to raise a freestanding cooker, it’s worth checking if the model has adjustable feet.
Many leading brands of freestanding cookers, such as Beko and Smeg, have height adjustable feet. This enables you to align your cooker with your worktop. Several Smeg models allow you to adjust the overall cooker to a height from 88 to 91.5 cm just by changing the feet.
Always check the manufacturer’s instructions before adjusting the feet on your cooker.
With most models you will need a heavy-duty adjustable wrench to clamp onto each leg and turn. When the feet carry equal weight, they will become equally difficult to turn. All the cooker feet should be pressing firmly against the floor.
How to Level a Stove
If your freestanding cooker is wobbly or tilting, there are some simple steps you can take to level it. It’s also a good idea to check your stove is perfectly level if you’ve adjusted the feet to raise the height.
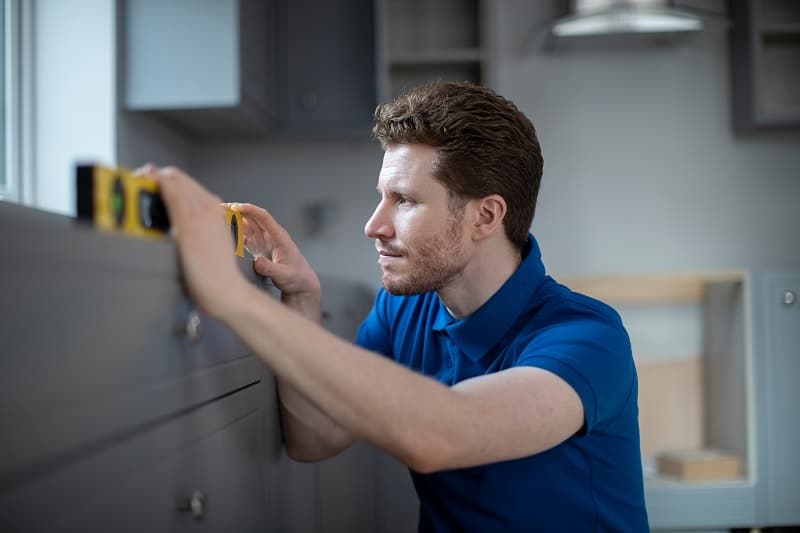
- Firstly, use a spirit level placed on the edge of stove to check which way your stove tilts.
- Adjust the feet accordingly to level the stove, then place the spirit level on the stove again to check the adjustment.
- Once the bubble inside the spirit level stays in the middle, the cooker should be level and won’t tilt any further.
Can I Use a Plinth to Raise a Freestanding Cooker?
If your model of cooker doesn’t have adjustable feet or is still too low even after you’ve raised it using the adjustable feet, you may need to consider a plinth to raise the stove to the correct height.
Many houses in the UK have uneven floors, and it’s common for professional kitchen fitters to use plinths underneath appliances to ensure a sleek and even kitchen.
It’s also possible to build a useful feature such as drawer to raise the cooker to the desired height, which can then be used for storing baking trays, cookbooks and so on.
There are plenty of professional kitchen fitters and joiners who should be able to help you raise your cooker using a plinth. However, if you are fairly handy at DIY you could build your own plinth.
It’s recommended that you use durable Weather and Boil Proof (WBP) plywood, at least 12mm thick and preferably 18mm thick. It’s a good idea to use battens or shims to support the plinth. Always check for cables and pipes before drilling.
Conclusion
You can raise a freestanding cooker by adjusting the feet (if it has adjustable feet), or by inserting a plinth underneath your cooker.
The plinth could double as a drawer or space for storing things like baking trays.
Since kitchen floors aren’t always perfectly even, you may need to use a spirit level when adjusting the legs or adding a plinth to make sure your cooker is flush with your countertops and doesn’t wobble.

Chef’s Pick is your guide to the best kitchen equipment and appliances in the UK.
We help you understand the confusing world of cookers, ovens and cookware so you can get the most out of your kitchen.

