Your kitchen is quite a unique place in your home. Other than the bathroom, no other room is subjected to such huge variations in moisture and temperature levels.
You may think that moisture in a kitchen is normal, and it is, but it does need to be controlled. If there’s no way for moisture to escape your kitchen, it can cause mould and a whole host of other issues.
The best way to control moisture in the air and water vapour is to install an extraction unit.
You can, of course, just open a window, but that isn’t practical all the time. If it’s freezing cold outside and your kitchen is nice and warm, you may be pained to open the window.
Of course, an open window in the summer months is a nice addition to any hot kitchen. However, the best and most comprehensive way of removing moisture from the air in your kitchen is to install a cooker hood.
A cooker hood can remove water vapour and moisture-laden air and replace it with fresh, clean air. If you’ve never installed a cooker hood before, you’re in luck because installing a cooker hood is what this article is all about!
Who Can Fit a Cooker Hood?
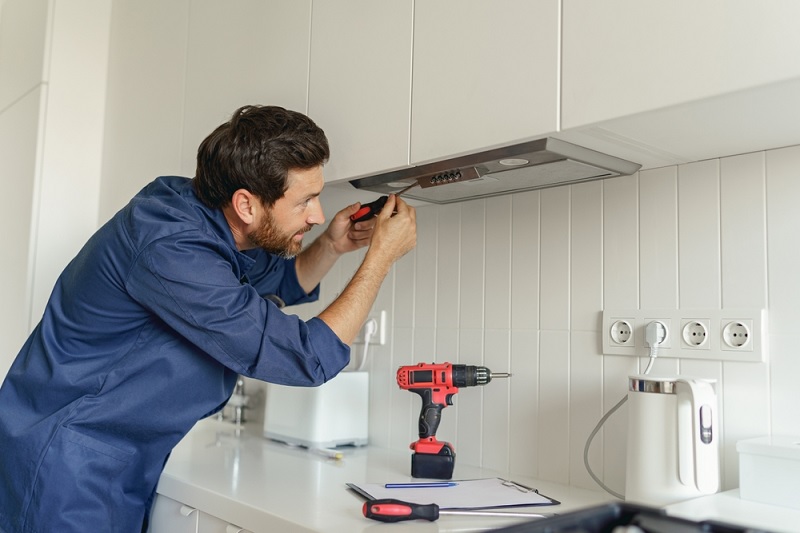
Fitting a cooker hood can be done by anyone with a good knowledge of DIY. You’ll need basic electric skills and know how to handle a drill.
If you are not totally comfortable with fitting a cooker hood, then don’t. Remember, a cooker hood becomes a feature in your kitchen. If you don’t install it correctly (it is wonky, for example), you and your partner will have to live with that.
So, if you don’t feel confident that you can install a cooker hood, get a professional in. If you’re confident you have the DIY skills to fit a cooker hood, read on dear reader.
Before the Install
We understand that not all cooker hoods are the same, and it would be near impossible for us to guess which cooker hood you plan on installing in your home correctly.
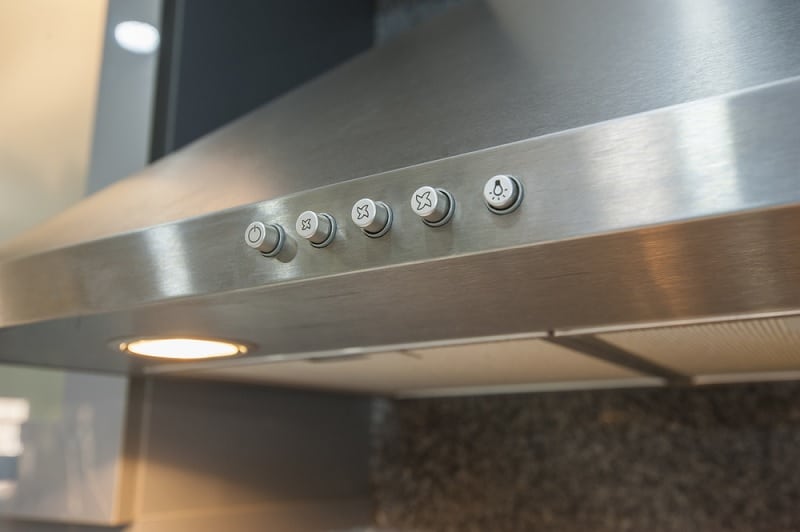
So, in this article, we’re going to talk you through a chimney-style cooker hood. This is one of the more common cooker hoods on the market, and so there’s a good chance that it will be the hood you install in your kitchen.
With this type of cooker hood, we need to drill a great big hole in the side of the house. The first step is to check the exterior wall and make sure nothing is in the way.
Some houses have gas mains that run up the side of the wall on the outside of the property. If this the case for you, a Gas Safe registered engineer will need to move it for you.
You will also need to run over the interior wall to find out whether there are any pipes, cables or studs. You can use a specially designed detector for this.
This is really quick, and using the detector sure beats finding them with the massive drill bit you’ll be using soon!
Marking out – The Most Important Step in Any DIY Project!
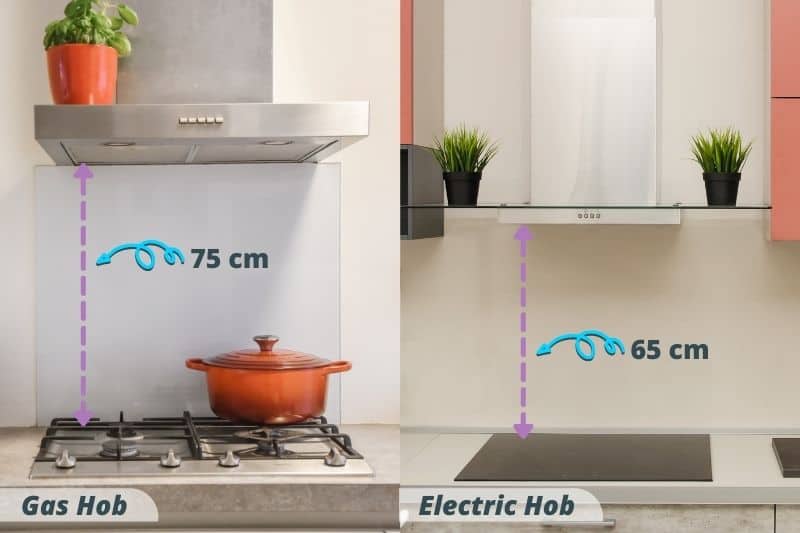
Now we need to mark the position of our new cooker hood. Thankfully, there are minimum and maximum heights to make this a bit easier:
For a gas hob, the recommended minimum distance between the hob and the hood is 750 mm (75 cm). For electric, the recommended minimum distance is 650 mm (65 cm).
Using these rules, you can now work out where you want your cooker hood to be located on the wall. A good rule thumb, though, is that the chimney portion of the cooker hood should reach the ceiling of your kitchen.
Most cooker hoods should allow enough room for the chimney section to do this and be within the minimum and maximum height range.
Now you need to mark the wall either side of your cooker to establish the correct height for your hood. Use a pencil and measure off of your worktop. Your countertop should be level, if it isn’t, use a shim to raise one end of the level until you have a level surface.
Then, use a tape measure and the spirit level to make your marks at the desired height. Then join these marks together. So, that’s the height of the cooker hood. Now we need to ensure the cooker hood is central to the hob.
To do this, measure your hob (the width) and half that number. Then, position your tape measure on the wall between your marks and make a small mark. Then, using your spirit level on your worktop again, define that mark, making sure it is nice and vertical.
While we’re marking out, also measure the width of the hood and divide that by two as well. Make a small mark on the hood (on the back) to find the centre of that. This will help with lining things up in a moment.
Measure, Measure and Mark Fixing Points
When it comes to marking the fixing points of your cooker hood, each manufacturer has their own method and designs their own fixings and brackets. This means that, unfortunately, we can’t guide you through this bit.
However, we can tell you the importance of measuring, checking, measuring again and reading the instructions.
Before you get all gung-ho with the drill, make sure your pencil marks are in the correct place. Offer the hood up to the wall and get someone to see if it looks right.
Most of the chimney-style cooker hoods have brackets holding up the chimney section, and the hood is screwed securely to the wall.
So, this part is quite similar to hanging a TV bracket, for example. Still, take your time measuring out the positions of these fixing points. Pencil lines can be erased or painted over, a bloody great hole in the wall cannot be.
Time to Drill Out the Fixing Points
Now that you have offered up the cooker hood and it is looking awesome with the fixing points you have marked, it’s time to drill them out. It should state in the manufacturer’s instructions which drill bit size you should use, but it is normally 6 or 8mm.
If you’re drilling into brickwork, you’ll need a masonry bit. If you’re drilling into plasterboard, you can use a standard drill bit, but you’ll need to check that the fixings are suitable for plasterboard.
Drill your holes. If you’re drilling into the brickwork, run the drill in and out a few times, this gets rid of any dust (and puts it all over your hob, we’ll get to that in a bit). When the holes are drilled, installed your wall plugs as per the instructions.
Test Fit
Now it is time to admire your hard work, have a cup of tea and prepare to drill a great big hole in the side of your house.
Install your cooker hood and bask in all of the glory that is the DIY queen or king. Doesn’t that look great? Well done you! While you are admiring your beautiful work, have a look at where the top of the duct exits the hood.
From there, you can see where you’ll need to run the additional ducting to the outside of your property and mark where you need to drill the hole.
Now, to get the air out of your kitchen, you have two choices:
Over the wall and out the soffit
This is a good choice for bungalows. The ducting will run from the hood into the ceiling and into the loft space. It can then flow over the wall plate and out through the soffit.
Through the wall
For most properties, though, the hole will need to be through the wall of your home. This will connect the ducting to a vent on the outside of your home and whisk any moisture away. This is the method we’ll be covering below.
Drilling the Hole
Venting should be done in as straight of a line as possible, ideally. This means that the air and fumes will be forced out of your kitchen in the most efficient manner possible. This is why drilling a hole through your wall often provides the best results.
Some cooker hood manufacturers provide a template that you can use to mark the location of the hole. If you have this template, mark out the exact location. If you don’t, check the manufacturer’s instructions for the size of the hole needed. It is usually 120 mm (12 cm) or 150 mm (15 cm).
You’ll need to make a mark for both sizes of the chimney section on to the wall and then find the centre of these marks. Then, measure up from the top of the hood somewhere between 400 mm (40 cm) and 600 mm (60 cm).
Again, the manufacturer’s instructions are key to knowing the exact place to drill the hole. Make a mark, and now you know the exact location for the vent hole.
With your vent hole marked, remove all of the hood fixings and put them to the side. To drill the hole, you’ll need a diamond core bit, often called a hole saw.
These bits come in loads of different sizes, and there are a few styles available for different materials. Ensure that you buy a hole saw that is designed for drilling through the brickwork.
As you can imagine, to power this drill bit, we need a powerful drill. It is best to use an SDS drill for this job. If you don’t have an SDS drill, you can rent them for a small price. It is well worth renting an SDS drill as a normal drill just won’t have the power for this application.
Just before you start drilling, remove anything from the area that you don’t want to be covered in dust and put a dust sheet over anything that you can’t remove.
Now that you have the correct sized drill bit and a powerful enough drill, it is time to drill. Get yourself in a comfortable position and put the centre of the drill on the mark you made earlier. Start drilling slowly and carefully.
Take your time drilling this hole and make sure you hold the drill as level as possible. There’s no need to push the drill with a lot of force, that will just dull the drill bit. Basically, all you’re doing is holding the drill bit in the correct position while the bit does the work.
Once you’re about 20 mm (2 cm) through the wall, the small drill bit in the centre of the hole saw should have burst through the wall on the outside. If it has, use this mark to start drilling from the outside. This makes for a much cleaner hole than going from one side all the way through.
Instal the Vent and the Ducting
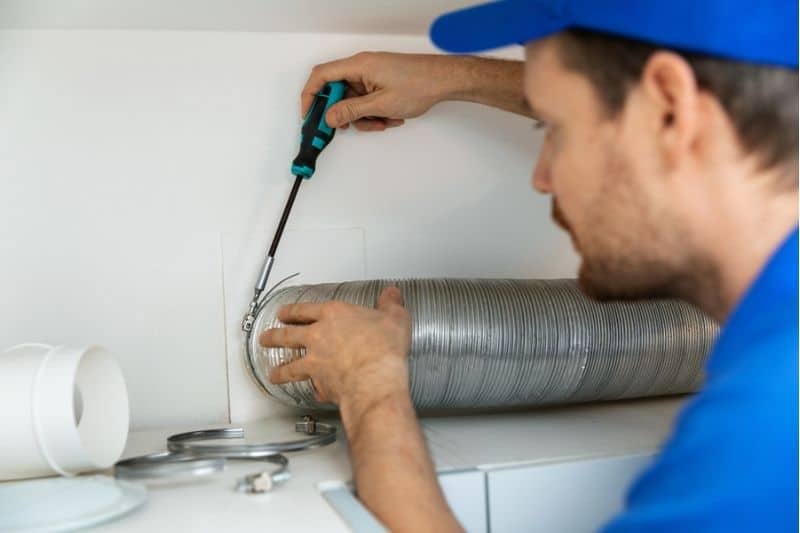
With your hole drilled, you can now install the ducting and the venting. In most cases, cooker hood kits come with everything you need to do this.
If not, you’ll need a vent and ducting hose that are 100mm, in most cases and these are widely available. In fact, most DIY shops have cooker hood venting kits available.
Start by mounting the internal ducting plate. Just put it in position, making sure it is level with your spirit level and mark the mounting holes, just as you did with the cooker hood fixings. With the hole marks, drill holes for wall plugs, usually a 6mm masonry drill is fine for this.
Before you install the plate, you will need to attach the small section of ducting pipe that runs through the wall. If the fixings for this weren’t supplied in your kit, a large cable tie will work great. Thread the pipe through the wall and then screw the interior plate in place.
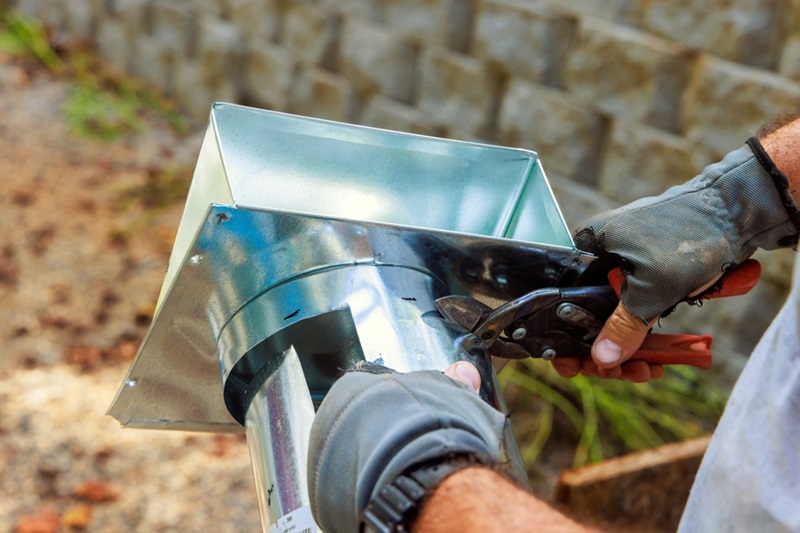
Now, head outside and do the same with the exterior vent. This time, though, you’ll need to pull the ducting through the wall and trim off any excess. Remember to fix the ducting to the vent before you install it securely.
Cooker Hood Electrics
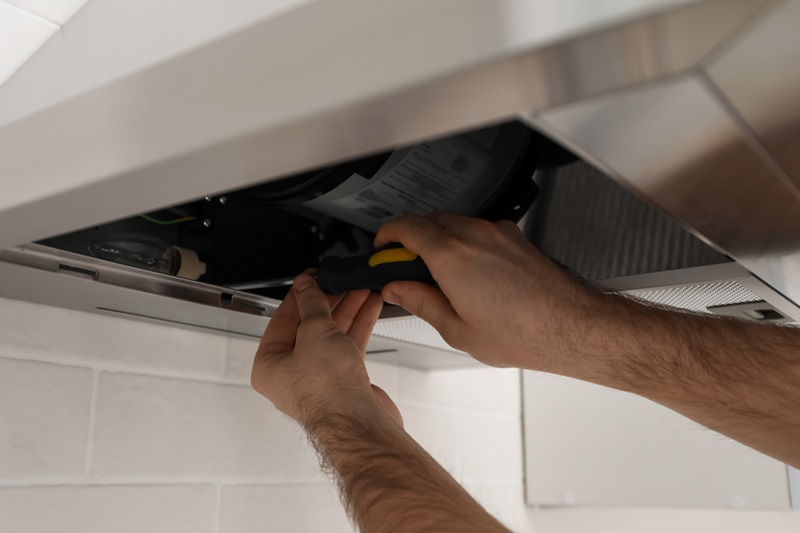
The final job of installing a cooker hood is getting it ready for its maiden voyage by hooking it up to the electrics. This should be done before the cooker hood is finally secured the wall. There are two ways of getting power to your new cooker hood:
A Fused Spur: This spur is taken off of a nearby socket or light circuit and uses a junction box to provide power. It will need to be proceeded by a 3amp fused unit. For example, Existing circuit > Junction Box > Fused Spur > Hood.
Plug and Socket: You can install a new socket that can be hidden in the chimney section of the cooker hood. This socket can be spurred off of an existing circuit via a junction box. You can then use a plug with a 3amp fuse and plug in your cooker hood like you would any normal appliance.
Now, this is the trickiest part of installing a cooker hood, and so it may be worth getting a qualified electrician in to do this part of the install for you.
However, if you do want to install your cooker hood by yourself and are competent with electrics, here is an excellent video on how to wire a spur socket. Please watch this video before doing any electrical work!
Final Install of Your Cooker Hood
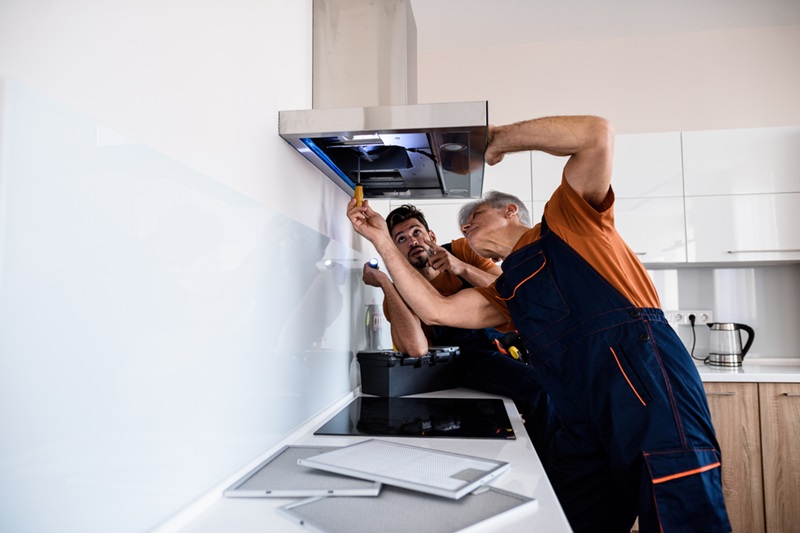
With the power in place and the vent hole drilled, it is time to put your new cooker hood in place. You’ll need your assistant for this step so give them a shout. Together, get the hood and the ducting section in place on the wall and align your fixing points.
It is best to start with securing the hood as this is the heaviest part so it can take some weight off of the person holding it. Make sure all of the fixings are secured nicely and work your way around the hood and the duct section until everything is tight.
Next, it is time to connect your cooker hood up for power. Before you do this, make sure the power to the circuit is isolated, and your new wire isn’t live. With the cooker hood power connected, turn on the circuit and test both the lights and the fan of your new cooker hood.
Both should work as expected if all of the electric work was done correctly. All you need to do now is connect the final part of the ducting to the top of the hood. Again, using a large cable tie will make this job a lot easier.
Once this last piece of ducting is installed securely, you can place the ducting cover in place and admire your work. The ducting cover should create a nice overlap on the hood, but follow the manufacturer’s instructions to ensure this. Of course, also make sure all of the mounting brackets are nice and secure.
And that it is, you have just installed a cooker hood. Give the fan a test and run it on all power settings to ensure it is doing what it should and test the light again. Installing a cooker hood isn’t too complicated.
As long as you measure precisely and take your time, you’ll have a lovely looking cooker hood that is going to stop moisture building up in your kitchen.
Please stay safe while installing your cooker hood. If you don’t feel confident at any part of this installation, ask for help or call a professional. We hope this look at installing a cooker hood has been helpful. For more articles about all things kitchen-related, please explore our website further.

Scott is a writer and a passionate home chef. His passion for cooking began when he was 10 years old. Scott has been writing professionally for over five years now and loves to combine his passion for cooking with his day job.

")
")
")
")
